Create a loan request
As a borrower, you can apply for a new loan by pledging some collateral in any supported ERC20 tokens. Here are the steps to follow to start to borrow Ether.
Step 1

If you are using the Main Ethereum Network, you will need to have one of the supported collaterals in your metamask wallet. If you are using the Kovan Test Network, then you can request test fund(TFT) from our faucet by clicking on the plus(+) icon on the left panel of the screen. You will see a text string stating:
Request submitted successfully
Please add the TFT token in the metamask plugin by clicking on Add Token and entering the following contract address: 0x6da6a4fb3ef7803cbb9baa5e74c12625275bd480
Step 2

Click on “Apply for a Loan” on the top right corner of the screen and fill in your loan offer details. At this stage, you need to set the various parameters of your loan offer. You can set the type of the token you will be pledging your collateral with, the amount of collateral that you are willing to put in, the premium you are willing to pay for the lent ETH and a few other details of the loan offer. Please note that in order to incentivise the platform for both borrowers and lenders, we have kept the collateral amount required to be fixed at 1.5x of loan amount.
Step 3

Click on Next and a MetaMask pop-up should open up(If this doesn’t open, please click on the MetaMask extension icon on the top right corner of your browser). This pop-up contains info to create the smart contract for this loan offer. You can review the details here and click on Submit to wait for the smart contract to be created. You can click on the transaction hash and check it on the blockchain explorer as well.
Step 4
Once this is done, you will need to Approve to pledge your tokens towards the smart contract by clicking on the Approve button and clicking Submit on the MetaMask extension. Finally, you will need to transfer the collateral tokens into the smart contract by clicking the Transfer button and clicking Submit on the MetaMask extension.

Step 5
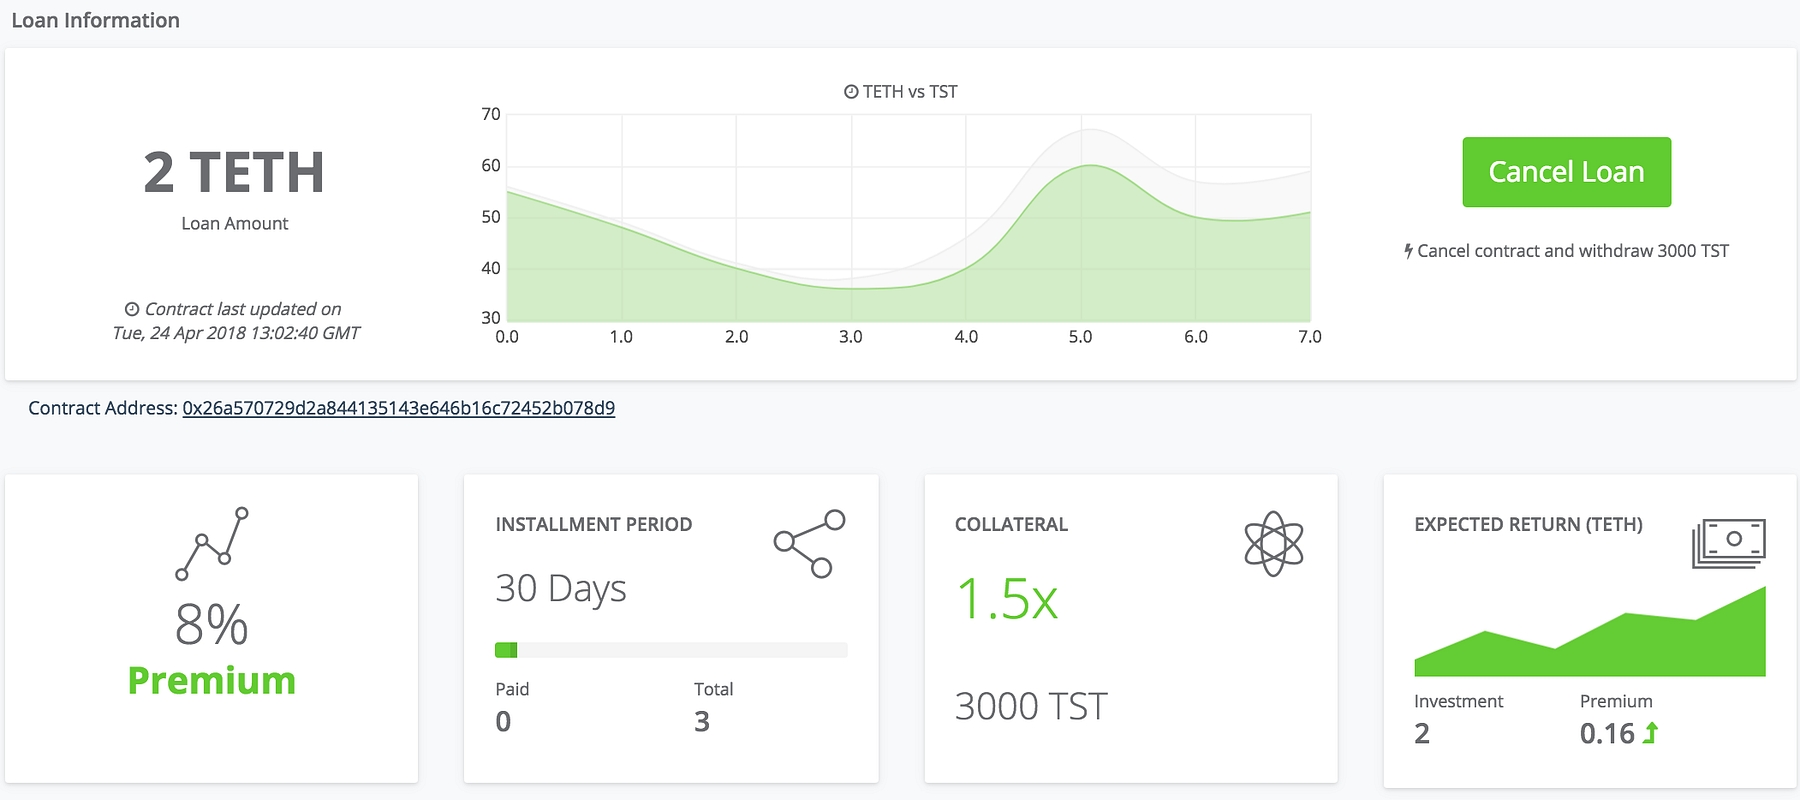
Voila! Loan offer has been created. You can now review your successfully created loan offer details. You can also click on the contract address to go to the blockchain explorer to view your loan offer smart contract on the public blockchain. You can also check out additional loan offer details on this screen. Now, it is time for you to wait for a lender to fund this loan offer. You can cancel this loan at any time(before the loan is funded) if you want to take back your pledged collateral tokens.

Once a lender has funded your loan, you will get an option to withdraw that funded Ether. Click on the Withdraw Debt button in the same screen and submit that transaction via MetaMask to get your desired amount amount(2 ETH) in your Ether wallet.
Last updated